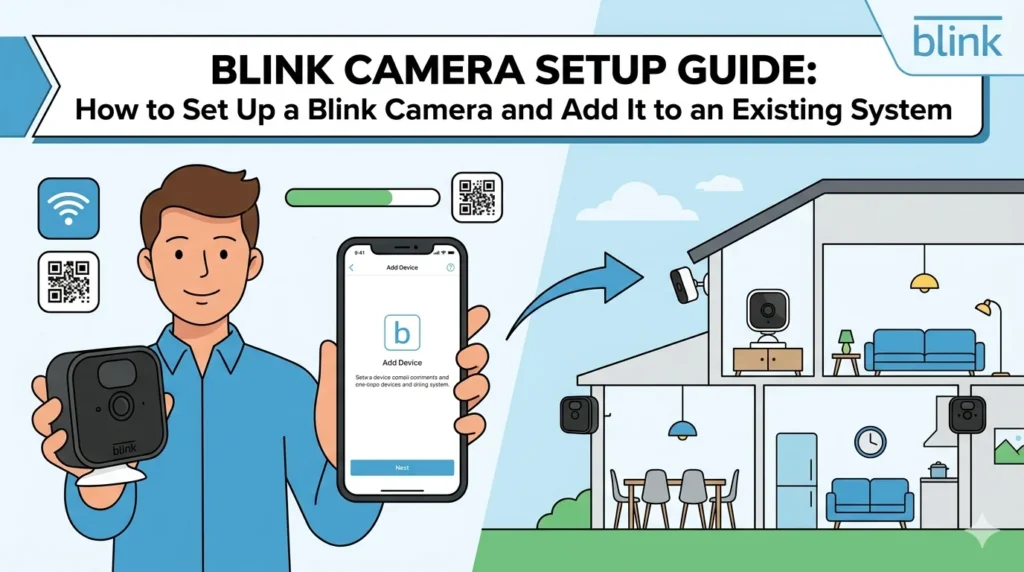
Blink cameras are among the most popular wireless security cameras available today. They offer easy installation, reliable performance, and convenient remote monitoring through the Blink app. Whether you’re setting up your first Blink camera or adding a new device to an existing system, the process is straightforward and user-friendly.
In this guide, you’ll learn everything you need to know about Blink camera setup, how to set up a Blink camera, and how to add a Blink camera to an existing system.
What You Need Before Starting
Before beginning the setup process, make sure you have:
- A Blink camera
- Blink Sync Module (if required)
- Blink Home Monitor App
- Stable Wi-Fi connection
- Fresh AA lithium batteries
- A smartphone or tablet
Having these items ready will help ensure a smooth installation process.
How to Set Up a Blink Camera
Setting up a Blink camera for the first time only takes a few minutes.
Step 1: Download the Blink App
Visit the Apple App Store or Google Play Store and download the Blink Home Monitor app. Open the app and create a new account or sign in to your existing Blink account.
Step 2: Set Up the Sync Module
Most Blink camera systems use a Sync Module to connect cameras to your Wi-Fi network.
- Plug the Sync Module into a power outlet.
- Wait for the LED indicators to light up.
- Open the Blink app and tap the “+” icon.
- Select “Sync Module.”
- Scan the QR code located on the back of the device.
- Follow the on-screen instructions to connect it to your Wi-Fi network.
Step 3: Insert Batteries into the Camera
Open the battery compartment and install the included AA lithium batteries. Once inserted, the camera will power on automatically.
Step 4: Add the Camera
In the Blink app:
- Tap the “+” icon.
- Select your camera model.
- Scan the QR code located inside the battery compartment.
- Follow the prompts to complete the pairing process.
After setup is complete, your camera will appear on the app dashboard.
How to Add a Blink Camera to an Existing System
If you already have a Blink system installed and want to add another camera, the process is even easier.
Open the Blink App
Launch the Blink Home Monitor app and select the system you want to add the camera to.
Tap the Add Device Option
Tap the “+” icon located in the upper-right corner of the app.
Select Your Camera Model
Choose the Blink camera model you’re adding.
Scan the QR Code
Open the battery compartment of the new camera and scan the QR code using your smartphone.
Connect to the Existing System
The Blink app will automatically detect your existing Sync Module. Select the system you want the camera added to and complete the setup process.
Within a few moments, the new camera will appear alongside your existing devices.
Best Practices for Blink Camera Setup
To ensure the best performance from your Blink camera system:
Choose the Right Location
Install cameras where they have a clear view of the area you want to monitor.
Maintain Strong Wi-Fi Signal
Keep cameras within range of your router or Sync Module to ensure reliable connectivity.
Adjust Motion Settings
Customize motion sensitivity and activity zones through the Blink app to reduce false alerts.
Keep Batteries Fresh
Blink cameras are designed for long battery life, but replacing batteries when needed helps maintain consistent performance.
Regularly Update the App
Software updates often include security improvements, bug fixes, and new features.
Troubleshooting Setup Issues
If your Blink camera does not connect during setup:
- Verify your Wi-Fi network is working properly.
- Ensure you’re using a 2.4 GHz Wi-Fi network.
- Check that batteries are installed correctly.
- Restart your router and Sync Module.
- Update the Blink app to the latest version.
Most setup issues can be resolved using these simple troubleshooting steps.
Conclusion
Blink camera setup is designed to be quick and beginner-friendly. Whether you’re learning how to set up a Blink camera for the first time or figuring out how to add a Blink camera to an existing system, the Blink app makes the process simple. By following the steps in this guide, you’ll have your camera connected, configured, and protecting your home in just a few minutes.