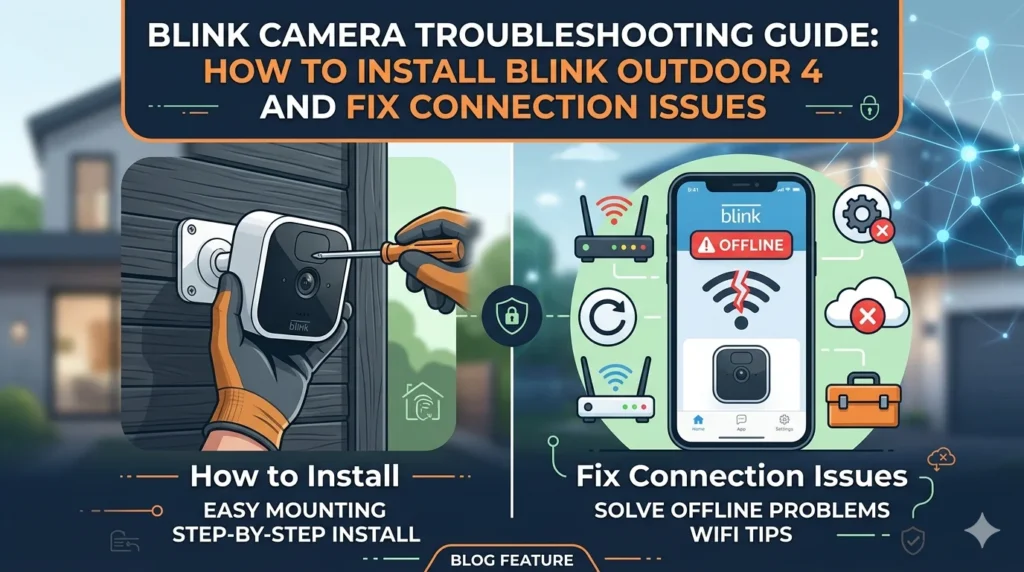
Blink security cameras have become a popular choice for homeowners looking for an affordable and reliable smart home security solution. The Blink Outdoor 4 offers improved motion detection, enhanced video quality, and long battery life. However, many users encounter issues during setup or experience connectivity problems after installation. This guide covers everything you need to know about how to install Blink Outdoor 4, common Blink camera troubleshooting steps, and solutions when your Blink camera is not connecting.
How to Install Blink Outdoor 4
Installing the Blink Outdoor 4 is simple and typically takes less than 15 minutes.
Step 1: Download the Blink App
Start by downloading the Blink Home Monitor app from your device’s app store. Create a Blink account or sign in to your existing account.
Step 2: Set Up the Sync Module
Connect the Sync Module to a power outlet and wait for the indicator lights to appear. In the Blink app, tap the plus icon and select “Sync Module.” Scan the QR code and follow the instructions to connect it to your Wi-Fi network.
Step 3: Insert the Batteries
Open the battery compartment of your Blink Outdoor 4 camera and insert the supplied AA lithium batteries.
Step 4: Add the Camera
Tap the plus icon in the Blink app and select “Blink Outdoor 4.” Scan the camera QR code and allow the app to pair the device with your Sync Module.
Step 5: Mount the Camera
Choose a location with a clear view and strong Wi-Fi signal. Use the included mounting kit to securely install the camera.
Blink Camera Not Connecting? Here’s How to Fix It
One of the most common issues users face is a Blink camera that won’t connect to Wi-Fi or appears offline.
Check Your Wi-Fi Network
Blink cameras require a stable 2.4 GHz Wi-Fi connection. Verify that your router is functioning properly and that the camera is within range.
Restart Your Router and Sync Module
Power cycling your networking equipment can resolve temporary communication issues. Unplug your router and Sync Module for 30 seconds before reconnecting them.
Verify Wi-Fi Credentials
Ensure that the Wi-Fi password entered during setup is correct. Even a small typo can prevent successful pairing.
Check Battery Levels
Low battery power can cause connectivity problems. Replace batteries with fresh lithium AA batteries if necessary.
Move the Camera Closer
Weak signal strength may prevent the camera from maintaining a stable connection. Try moving it closer to the router or Sync Module.
Common Blink Camera Troubleshooting Tips
If your camera is connected but not functioning correctly, these troubleshooting steps can help.
Motion Detection Not Working
- Verify that motion detection is enabled.
- Increase motion sensitivity settings.
- Review activity zones to ensure the monitored area is covered.
Live View Problems
- Check internet speed and signal strength.
- Restart the camera and Sync Module.
- Update the Blink app to the latest version.
Camera Appears Offline
- Confirm Wi-Fi connectivity.
- Check battery status.
- Reboot the Sync Module.
Sync Module Issues
If multiple cameras stop responding, the Sync Module may be offline. Disconnect it from power for 30 seconds and reconnect it.
When to Reset Your Blink Camera
If none of the troubleshooting methods work, performing a factory reset may resolve persistent issues. Follow Blink’s reset procedure and reconnect the camera through the Blink app.
Final Thoughts
The Blink Outdoor 4 is designed for easy installation and dependable home security. Most issues related to Blink camera troubleshooting or Blink camera not connecting can be resolved by checking your Wi-Fi connection, replacing batteries, updating the app, or restarting the Sync Module. By following this guide, you can quickly install your Blink Outdoor 4 and keep your security system operating smoothly.